Aeg-Electrolux B89090-4 User Manual
Browse online or download User Manual for Ovens Aeg-Electrolux B89090-4. Aeg-Electrolux B89090-4 User Manual
- Page / 24
- Table of contents
- BOOKMARKS
- B 89090-4 1
- Important Safety Information 2
- Contents 3
- Description of the Oven 3
- The Oven Electronic Control 4
- The Oven Safety Devices 4
- To Select the Language 5
- To switch the oven on and off 6
- Using the Oven 7
- To select a Cooking Function 8
- Cooking Functions 9
- Programming the Oven 9
- Safety Cut-Off Function 11
- Child Safety Function 11
- Residual Heat Function 12
- Error code 12
- "Demo" mode 12
- "Beep" Mode 12
- Hints and Tips 14
- Cooking Tables 15
- Grilling 16
- Thermal grilling 16
- Cleaning the Oven 17
- Cleaning the oven door 18
- The Oven door gasket 19
- Replacing the Oven Light 20
- The Hinged Grill 20
- Grease Filter 21
- Something not working 22
- Service and Spare Parts 22
- Installation 23
- Electrical connection 23
- Building In 24
Summary of Contents
B 89090-4Built-in ovenEinbau-BackofenFour à encastrerForno da incassoOperating InstructionsGebrauchsanweisungNotice d’utilisationIstruzioni per l’uso
10)To programme the Oven to switchoff1. Switch the oven on, place food in the oven, select acooking function and adjust the cooking temperature,if req
11Safety and Energy Saving FunctionsSafety Cut-Off FunctionThe oven will switch off automatically if any change of settingis made, according to the ta
12Residual Heat FunctionWhen a Cooking Duration time is set, the heating elements ofthe oven will automatically go off a few minutes before the endof
13Some recipes have been stored into the Oven ElectronicControl memory to allow you to cook ten different dishesusing pre-set cooking functions, tempe
14Hints and TipsAlways cook with the oven door closed.The oven is supplied with an exclusive system which producesa natural circulation of air and the
15CAKESWhisked recipes2 170 2 160 45 ~ 60 In cake mould on the shelfShortbread dough2 170 2 (1 and 3)* 160 20 ~ 30 In cake mould on the shelfButter-mi
16700 Pizza, large 1 200 15 ~ 25 in baking tray500 Pizza, small 1 200 10 ~ 20 in mould on the shelf500 Flat cake 1 200 15 ~ 25 in baking trayTYPE OF D
17Cleaning the OvenBefore cleaning always allow the cooling fan to coolthe oven down before switching off at the electricitysupply.This appliance cann
18Cleaning the oven doorThe following instructions explain how to disassemble the ovendoor as it is supplied by the Manufacturer.If your oven door has
19Figure 32. Tightly hold with both hands the second inner glass“E” and remove it from its original position also by slidingit upwards.After removing
2Guide to use the instructionsThe following symbols will be found in the text to guide youthroughout the Instructions:Safety InstructionsStep by step
20Oven Shelves and Shelf SupportsTo clean the oven shelves, soak in warm soapy water and removestubborn marks with a well wetted soap impregnated pad
21Grease FilterWhen cooking meat, the grease filter must be fitted over theoven fan by clipping it over the vents in the back panel. Thiswill prevent
22Something not workingIf the appliance is not working correctly, please carry out the following checks, before contacting your local Service Centre.
23Technical DataDimensions of recessHeight undertop: 593 mm; in coloumn 580 mmWidth 560 ÷ 570 mmDepth 550 mmDimensions of the oven cavityHeight 335 m
24Building InPlease ensure that when the oven is installed it is easilyaccessible for the engineer in the event of a breakdown.Building InThe surround
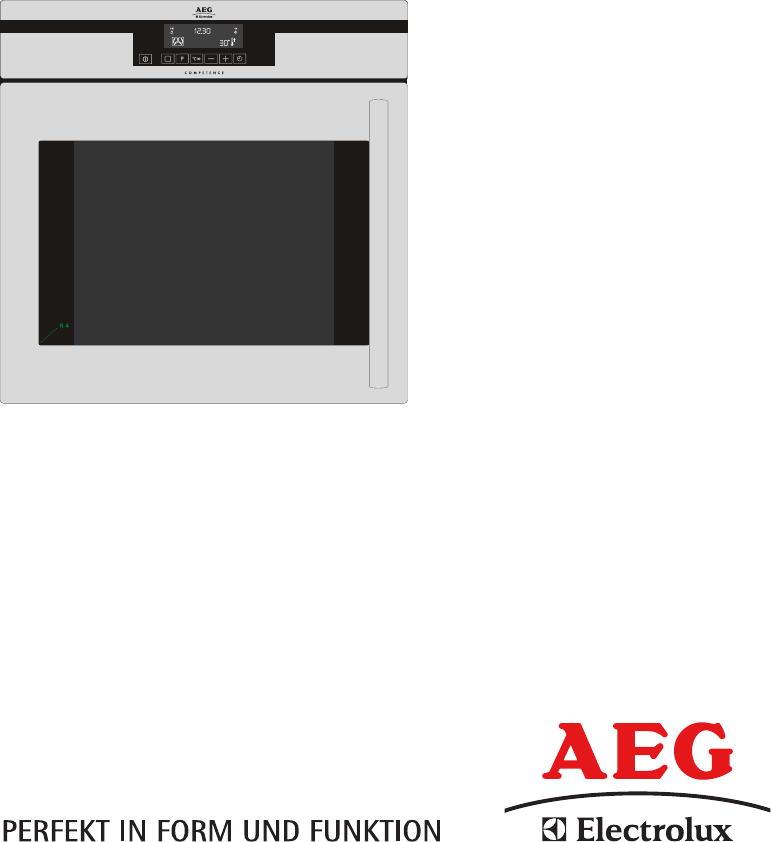
3ContentsDescription of the OvenOven LightGrill ElementThis appliance complies with the following E.E.C.Directives:* 73/23 - 90/683 (Low VoltageDirect
4The Safety ThermostatThis oven is provided with a safety thermostat. In case ofmalfunctioning of the main thermostat, and consequentialover-heating,
5)When the oven is first installedWhen the oven is first connected to the electrical supply, orwhen supply is restored after a long power failure, the
6To switch the oven on and offThe oven must be switched on before setting any cookingfunction or programme. When control is touched, theoven light w
7Using the OvenFig. 8Shelf PositionsThe oven shelves can be placed at different heights to obtainbetter cooking results.The levels are shown in Fig. 8
8))To select a Cooking Function1. Switch on the oven by touching the "ON/OFF" control.2. Touch the "Cooking Functions" control t
9Cooking Functions)Programming the OvenHow to set the minute minder1. Touch the "Time Function" control . The symbol flashes near the "
More documents for Ovens AEG Electrolux B89090-4

Related products and manuals for Ovens Aeg-Electrolux B89090-4
 (60 pages)

 (64 pages)
(36 pages)
(64 pages)
(36 pages)
 (40 pages)
(56 pages)
(28 pages)
(60 pages)
(76 pages)
(52 pages)
(72 pages)
(36 pages)
(32 pages)
(48 pages)
(44 pages)
(44 pages)
(36 pages)
(48 pages)
(40 pages)
(56 pages)
(28 pages)
(60 pages)
(76 pages)
(52 pages)
(72 pages)
(36 pages)
(32 pages)
(48 pages)
(44 pages)
(44 pages)
(36 pages)
(48 pages)
© 2020, manymanuals.com. All rights reserved. | 0.715 s |
 Manymanuals.com
 Manymanuals.de
 Manymanuals.fr
 Manymanuals.it
 Manymanuals.pl
 Manymanuals.cz
 Manymanuals.es
 Manymanuals-pt.com
Comments to this Manuals